
Last Updated on 5 years by Christopher G Mendla
The final step in the process is to apply sealer to the driveway. This will help stabilize a badly deteriorated driveway.
See below for links to the previous posts on this topic
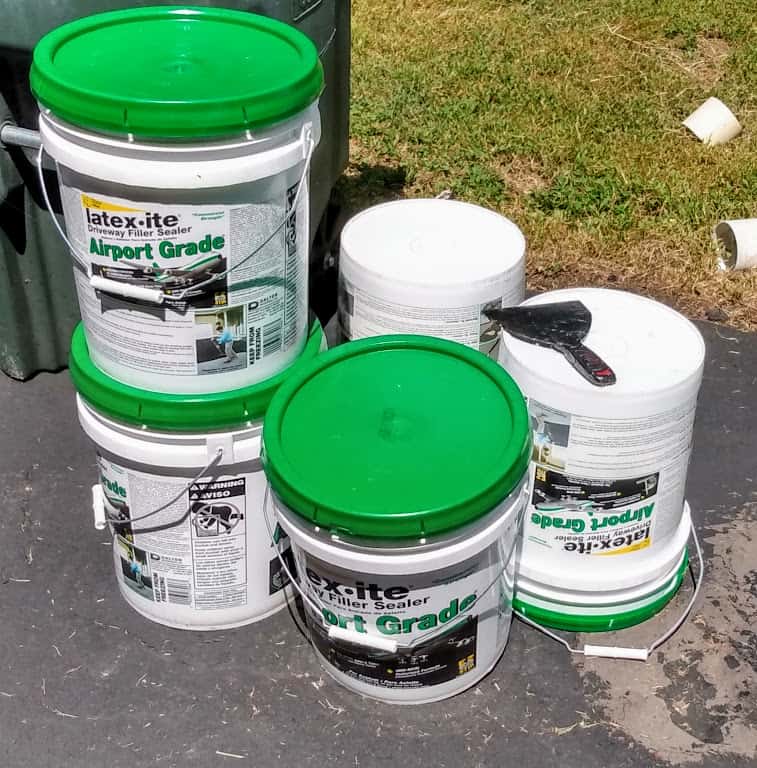
After you have cleaned the driveway and filled all the cracks and potholes, it is time to apply the sealer. I used theLatexite Airport Grade sealer from Home Depot.
Mixing the sealer
There are a couple of tricks to mixing the sealer. I like to leave it where the sun hits it all day. The directions say to invert the cans overnight before using them. I also used a 1/2 inch drill with a metal five gallon mixing paddle.
BE VERY CAREFUL when mixing the sealer. My drill is a variable speed model. However, it is very easy to pull the trigger too far. If there is a lot of liquid at the top, it can make a real mess. It is a good idea to wear eye protection while mixing.
I found that if it is thicker on the bottom and watery on top, I can mix it with the paddle but without powering the drill up. It wasn’t that hard to mix it to the point where I could finish it safely with the drill.
Sealer Application
If you have a ‘normal’ driveway, you could apply the sealer using a squeegee. A thinner coat is better than a thick coat. However, in a driveway that is in worse condition than a 2000 year old Roman road, the squeegee won’t work well.
In that case, you can try a stiff bristled brush.
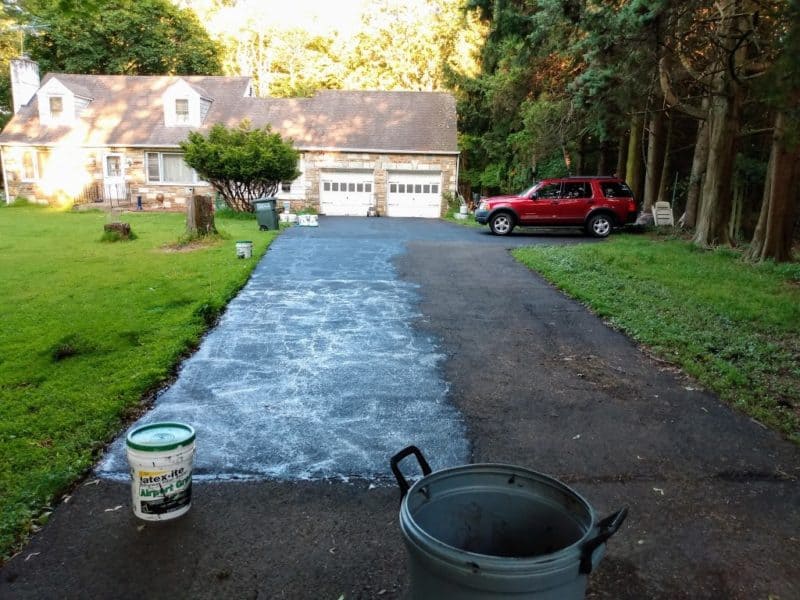
I decided to work in sections. Ideally, you would do the whole driveway in one shot. The only way I could do that at one time would be to invite all my friends over. However, at the end of the day, I would not have any friends.
My driveway is wide enough for two cars. That allowed me to do one half while being able to drive on the other half.
Keep in mind that when doing it in sections over time, there will be slight but noticeable differences in coloring. My objective was to prevent deterioration not win a Better Homes and Gardens contest or a letter of praise from Martha Stewart.
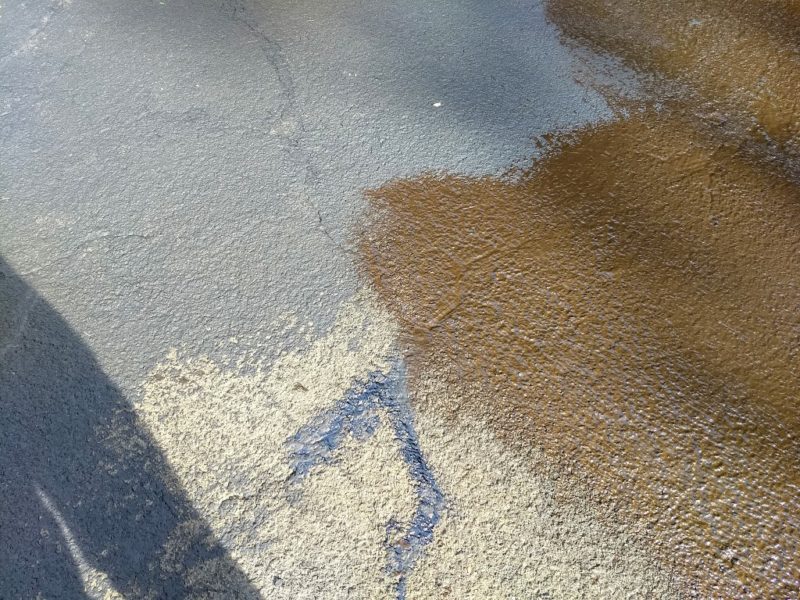
The sealer will go on brown and dry to a flat black. Below you can see part of the unsealed driveway, freshly applied sealer and cured sealer.
I used a 2 quart pitcher of the type hospitals provide as a ladle. I would put the sealer in lines about 3′ long and a couple of inches apart. Trial and error allowed me to determine the best method for brushing it out. Look at it from different angles and make sure you don’t have any puddling. That is where the sealer will probably fail.
A pair of inexpensive boots are a good idea as well as nitrile gloves.
I found that my personal limit was about 1 or 2 cans of sealer a day depending on the heat and humidity.
Check the weather forecast carefully to make sure that NO rain is expected for 24 to 36 hours and that the temperatures don’t drop below the temps indicated in the directions. .
A couple of years ago, I decided “Screw the instructions” and applied about 6 cans of sealer when the temperatures were too low. The stuff refused to dry. For this project, I am keeping a close eye on the temperatures. As we get later along in the summer, the driveway is more shaded by the adjacent trees which extends the time required for drying.
If everything goes well, the sealer will dry quickly. A thin coat during a sunny dry day, will begin to turn black before you finish applying the contents of the pail.
Tips:
- As you apply the first pail or two, check to determine your actual coverage. That will give you an idea of the number of pails you will eventually need.
- Watch how it dries. It should turn to black evenly. If you have parts that remain brown significantly longer than other parts, that means you applied the sealer too thickly.
- Try to apply the entire pail at one time. A half used pail does not store well.
- Clean your brush IMMEDIATELY when you are finished.
- Try to work in warmer weather (70’s or above). If you do need to work in less than optimal temperatures, here are some tips for working in cooler weather.
Related Articles:
- Feasibility
- Materials Needed
- Cleaning the driveway
- Previous: Patching cracks and potholes.
- This Post: Sealing
- Sealing in cooler weather

I appreciate your recommendation to wear eye protection and to mix with a paddle before using a drill if there is a layer of water on top. Our son was scootering on our driveway and crashed because there was a big crack in the middle of it. We may consider seeing if a professional can help us with seal coating it so that we don’t have to worry about mixing it or getting it everywhere. https://www.aaaasphaltpaving.com/seal-coating